Place the pinion on the shaft as far up as it will go on the taper by hand and rotate it slightly back and
forth. Remove the pinion and examine both surfaces. At least an 85-percent fit has to be shown by the
bluing contact of the pinion bore on the armature shaft. Any high spots shown by the bluing that will
prevent at least an 85-percent fit will be removed.
Record the position of gear on shaft with respect to end of shaft. Make measurements using
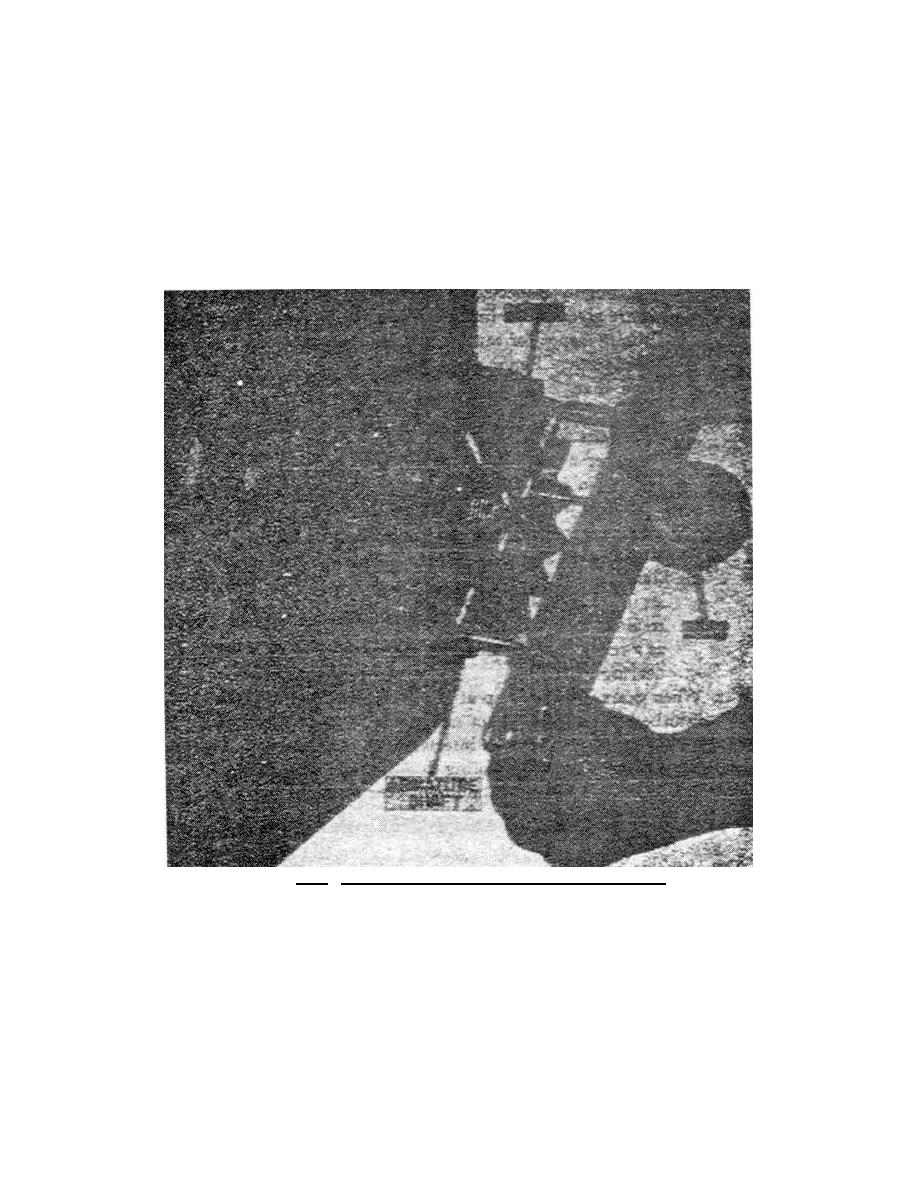
a micrometer depth gage set in a frame, as shown in figure 2.12. The points of measurement are marked
on the end of the shaft and the pinion to insure that they are mounted in exactly the same manner after
Figure 2.12. Method of Using Pinion Gear Advance Gage.
Heat the pinion gear in an oven or in oil until it has reached a uniform temperature and is the
required number of degrees above the shaft temperature. Check shaft and pinion gear temperature with
a hand pyrometer. Never permit the temperature of the pinion gear to exceed 375 F. Be sure maximum
advance is obtained, using a dummy pinion nut which has loose threads to
75


 Previous Page
